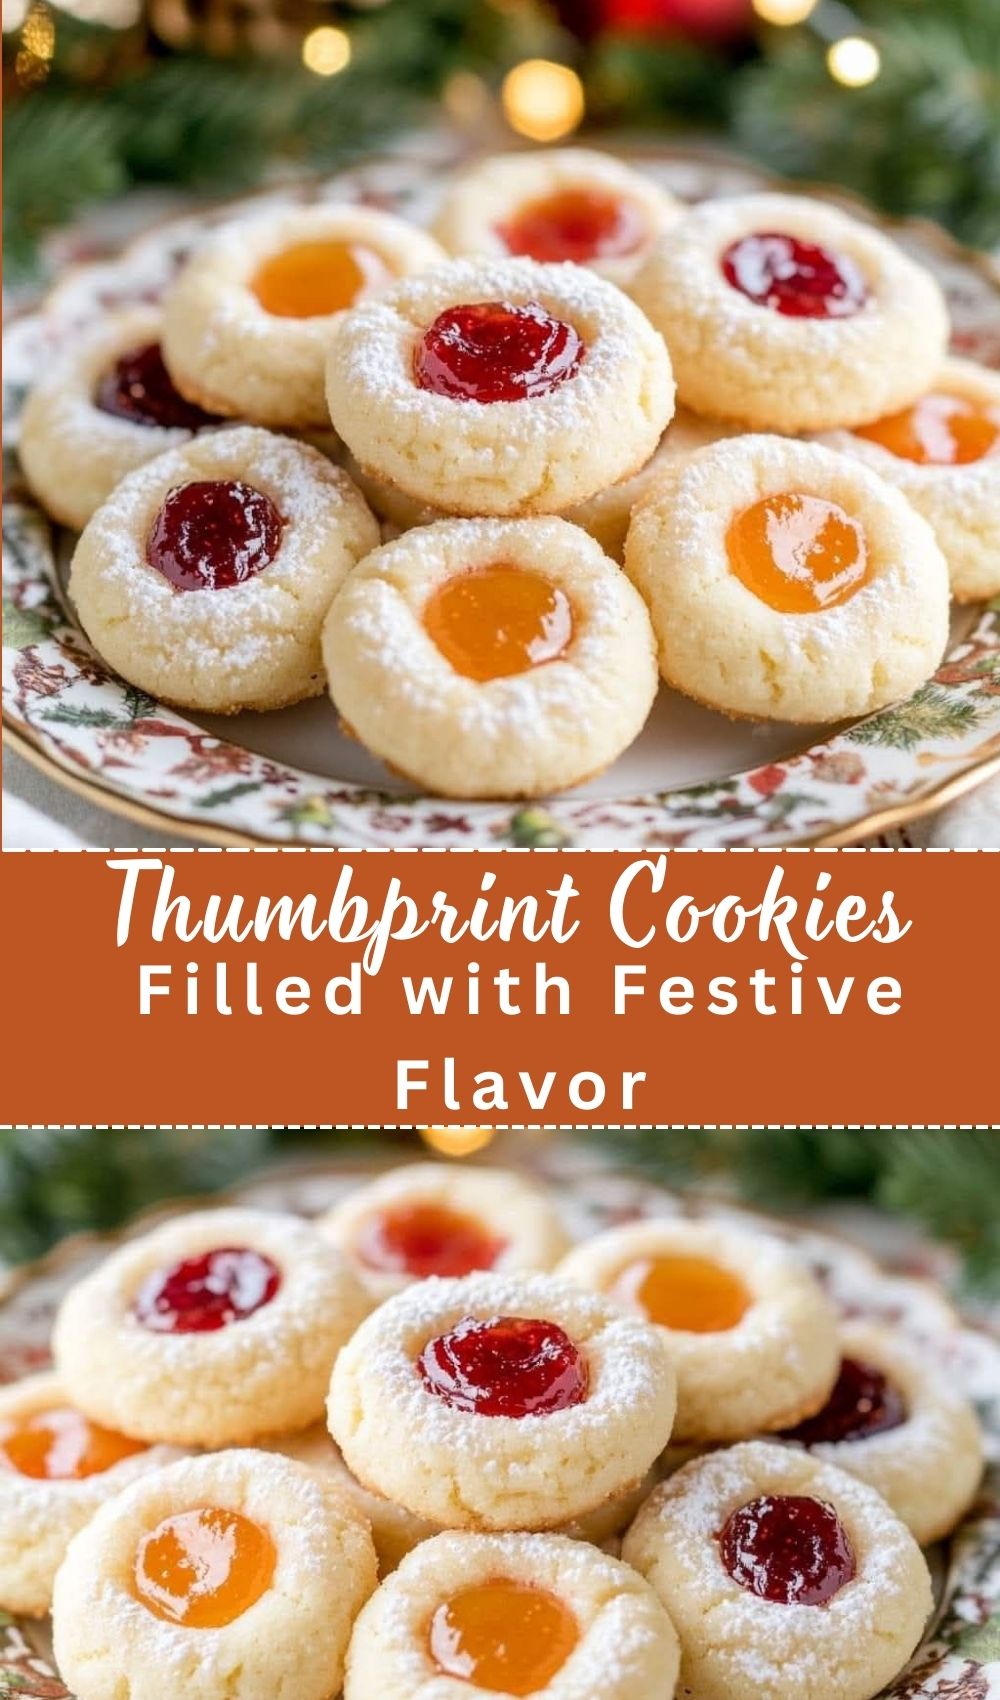
Classic Holiday Thumbprint Cookies Filled with Festive Flavor
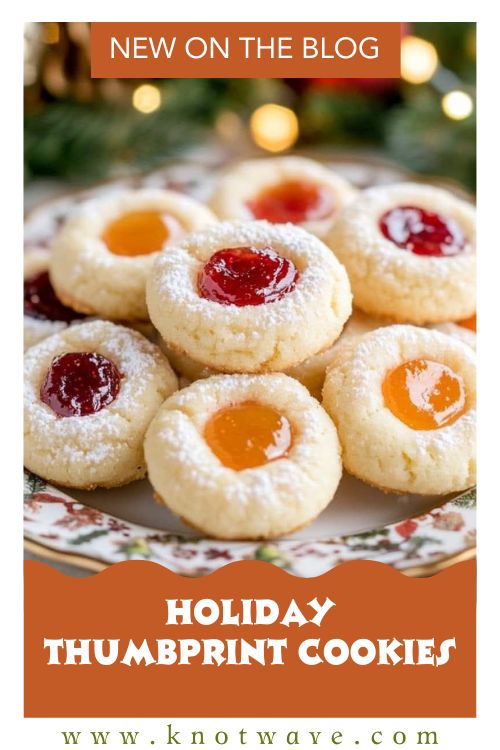
There’s something magical about the holiday season a time when homes fill with warm lights, cozy sweaters, laughter around the kitchen table, and the irresistible aroma of freshly baked cookies. These moments become memories that stay with us long after the holidays end. And among all the festive bakes, there’s one classic that truly captures the spirit of the season: thumbprint cookies. Soft, buttery, melt-in-your-mouth little treats filled with sparkling jam they look like tiny ornaments made for Christmas morning.
Thumbprint cookies have been part of holiday traditions for generations. Originating from Scandinavian baking heritage, they traveled across continents and became a favorite in American households. Grandmothers, children, and home-bakers of every skill level adore them, not just for their taste but for their simplicity and charm. Each little indentation is a moment of creativity a chance to add color, flavor, and personality to every batch. Whether you use strawberry jam, raspberry preserves, apricot jelly, or lemon curd, the filling transforms these cookies into festive jewels.
What makes Classic Holiday Thumbprint Cookies Filled with Festive Flavor so irresistible is their perfect balance of simplicity and elegance. They look beautiful on cookie trays, gift boxes, and dessert tables. They’re easy enough for beginners, kid-friendly, and they store exceptionally well. Plus, they pair amazingly with winter beverages like hot chocolate, coffee, and warm milk. This recipe is inspired by the warm colors and textures shared in the Instagram source, but recreated in a fully original, expanded, professional form. Expect vibrant flavors, buttery softness, and a festive glow in every bite the kind of cookies you bake once and keep making every holiday season.
Why You’ll Love This Recipe
-
Incredibly simple beginner-friendly and stress-free.
-
Customizable fillings jam, curd, Nutella, caramel, chocolate, and more.
-
Perfect for gifting beautiful, festive, and long-lasting.
-
Soft and buttery texture melts in the mouth.
-
Kid-friendly children can help with shaping and filling.
-
Budget-friendly ingredients just pantry staples.
-
No chilling required though optional chilling gives extra structure.
-
Freezer-friendly dough great for make-ahead holiday prep.
-
Holiday-themed variations peppermint, cinnamon sugar, gingerbread.
-
Long shelf life stays fresh 5–7 days.
-
Perfectly portioned each batch makes 24 beautiful cookies.
Ingredients List
Dry Ingredients
-
2 cups (250g) all-purpose flour
Provides structure; can substitute gluten-free 1:1 flour. -
¼ teaspoon salt
Balances sweetness and enhances flavor.
Wet Ingredients
-
¾ cup (170g) unsalted butter, softened
Room-temperature butter creates the signature melt-in-your-mouth texture. -
½ cup (100g) granulated sugar
Adds sweetness and helps with spread. -
1 large egg yolk, room temperature
Adds richness and tenderness. -
1½ teaspoons vanilla extract
Adds aroma; almond extract can replace or complement.
Filling Ingredients
-
⅓ cup thick jam or preserves (raspberry, strawberry, apricot)
Jam should be thick so it doesn’t melt/run in the oven. -
Optional: Lemon curd, chocolate ganache, caramel, raspberry curd
Important Notes
Room-Temperature Butter
-
Must feel soft to the touch.
-
Should NOT be oily or melting.
Jam Consistency Tip
-
If jam is thin, simmer it 2–3 minutes to thicken.
-
Thick jam stays neatly in the cookie cavity.
Substitutions
-
Vanilla → Almond extract (½ tsp)
-
Sugar → Coconut sugar (slight caramel flavor)
-
Butter → Vegan butter sticks
-
Flour → Gluten-free blend
-
Fillings → Nutella, caramel, lemon curd, pistachio cream
Ingredient Preparation & “Marination” Style Resting
Cookies don’t traditionally marinate, but flavor development comes from proper preparation:
1. Resting the Dough (Flavor Blooming)
-
After mixing, let the dough rest 10 minutes at room temperature.
-
This allows flour to hydrate and flavors to deepen.
2. Softening Butter Correctly
-
Leave butter out 1–2 hours before baking.
-
Should be soft enough to dent with a gentle press.
3. Bring Egg Yolk to Room Temperature
-
Cold egg yolk resists blending and stiffens dough.
-
Room-temp yolk improves smoothness.
4. Pre-Preparing Fillings
-
Slightly warm jam for easy spooning.
-
Strain seeds if you prefer a smooth filling.
-
Chill curds or chocolate ganache before use.
5. Flavor Marination
-
Vanilla or almond extracts bloom inside dough during resting.
-
Optional: Add citrus zest (lemon/orange) for holiday brightness.
Equipment Needed
-
Stand mixer or hand mixer: for creaming butter and sugar.
-
Cookie scoop: ensures uniform size.
-
Baking trays: heavy-duty sheet pans bake evenly.
-
Parchment paper: prevents sticking.
-
Cooling rack: keeps cookies from becoming soggy.
-
Small spoon or your thumb: for making indentations.
-
Pastry bag or small spoon: for filling cavities neatly.
-
Oven thermometer: ensures accurate baking temperature.
Step-by-Step Instructions (With Chef Tips)
Step 1: Preheat the Oven
Preheat to 350°F (175°C).
Chef Tip: An oven thermometer ensures perfect results many ovens run 10–20 degrees off.
Step 2: Cream Butter & Sugar
Beat softened butter and sugar for 2–3 minutes until light and fluffy.
Tip: Proper creaming creates airy, tender cookies.
Step 3: Add Egg Yolk & Vanilla
Mix until fully incorporated.
Tip: Scrape bowl sides to ensure even blending.
Step 4: Mix Dry Ingredients
Whisk flour and salt separately, then gradually add to wet mixture.
Tip: Avoid overmixing stop as soon as dough comes together.
Step 5: Rest Dough
Let the dough rest for 10 minutes.
Tip: Resting reduces cracks and improves texture.
Step 6: Shape Dough Balls
Scoop 1-inch balls and roll gently.
Tip: Slightly damp hands prevent sticking.
Step 7: Make Indentations
Use your thumb or the back of a teaspoon to press a cavity into each ball.
Tip: Press gently deep but not breaking the dough.
Step 8: Add Jam Filling
Fill each cavity ¾ full.
Tip: Overfilling causes leakage; underfilling leaves dull centers.
Step 9: Bake for 12–14 Minutes
Until edges are lightly golden.
Tip: For softer cookies, remove at 12 minutes; for crispier, bake 14–15 minutes.
Step 10: Cool & Set
Cool on the tray 5 minutes, then move to a rack.
Tip: Cookies are fragile when hot; avoid touching early.
Pro Tips & Chef Secrets (12–15 Tips)
-
Use high-fat butter for richer cookies.
-
Warm jam slightly for better consistency.
-
If dough cracks, pinch edges gently back together.
-
For crisp cookies: bake longer + use slightly less jam.
-
For extra-soft cookies: add 1 teaspoon milk to dough.
-
Add cinnamon or nutmeg for holiday flavor.
-
Roll dough balls in sugar for a sparkly finish.
-
Use seedless jam for a smoother center.
-
Chill dough 15 minutes if your kitchen is warm.
-
Add almond extract for bakery-style aroma.
-
Add lemon zest to dough for a bright, festive note.
-
For pistachio thumbprints, fill with pistachio paste.
-
Add cocoa powder for chocolate thumbprints.
-
Use parchment instead of greasing trays.
-
Rotate trays halfway for even baking.
Recipe Information Box (H2)
Prep Time: 15 minutes
Resting Time: 10 minutes
Cook Time: 12–14 minutes
Total Time: 40 minutes
Servings: 24 cookies
Course: Dessert / Holiday Baking
Cuisine: American
Difficulty: Easy
Serving Suggestions & Side Dishes
These cookies pair beautifully with:
-
Hot chocolate topped with marshmallows
-
Vanilla latte or cappuccino
-
Warm milk
-
Holiday dessert platters
-
Christmas party trays
-
Coffee bar setups
-
Holiday cookie exchange boxes
-
After-dinner desserts with tea
Storage & Reheating Instructions
Room Temperature
-
Store 5–7 days in an airtight container.
Refrigeration
-
Helps jam stay firm; lasts up to 10 days.
Freezing Baked Cookies
-
Freeze up to 2 months; thaw 15 minutes before eating.
Freezing Dough Balls
-
Freeze unfilled dough balls; add jam before baking.
Reheating
-
Warm in oven at 300°F (150°C) for 3 minutes.
Common Mistakes to Avoid
-
Overbaking leads to dry cookies
-
Using thin jam causes leaking
-
Cold butter results in dense dough
-
Overmixing toughens texture
-
Pressing too hard cracks dough
-
Using warm trays cookies spread too much
FAQs
1. Can I use homemade jam?
Absolutely thick, chunky jam works best.
2. Why did my cookies crack?
Butter may have been too cold or dough too dry.
3. Can I freeze the dough?
Yes freeze dough balls up to 2 months.
4. What if my dough is sticky?
Chill 10–15 minutes or add 1 tablespoon flour.
5. Can I add nuts?
Yes chopped almonds, pistachios, or pecans add crunch.
6. Can I double the recipe?
Yes scales perfectly.
7. Can I use margarine?
Use only baking-quality margarine; avoid spreads.
8. Which jam is best?
Raspberry, strawberry, apricot, or blackberry.
Nutrition Information (Per Cookie)
Approximate values:
-
Calories: 115
-
Carbs: 14g
-
Fat: 6g
-
Protein: 1g
-
Sugar: 7g
Conclusion
Holiday baking is more than just preparing food it’s creating moments of warmth, joy, and togetherness. These Classic Holiday Thumbprint Cookies Filled with Festive Flavor bring that magic straight to your kitchen with their soft texture, glowing jam centers, and timeless charm. They make every table feel festive and every celebration feel complete.
Whether you’re making them for family gatherings, gifting to friends, or adding them to your holiday dessert lineup, these cookies carry a comforting nostalgia. Their simplicity makes them perfect for spontaneous baking days, while their beauty makes them ideal for special occasions. One batch is never enough everyone always reaches for more.
Let these cookies fill your home with sweet aromas and bright holiday spirit. Bake them with your children, bake them with your loved ones, or bake them alone with holiday music in the background the experience will warm your heart every time.
So, gather your ingredients, preheat the oven, and bring this festive tradition to life. Happy baking and happy holidays!
Classic Holiday Thumbprint Cookies Filled with Festive Flavor
Ingredients
Method
- Step 1: Preheat the Oven
- Preheat to 350°F (175°C).
- Chef Tip: An oven thermometer ensures perfect results — many ovens run 10–20 degrees off.
- Step 2: Cream Butter & Sugar
- Beat softened butter and sugar for 2–3 minutes until light and fluffy.
- Tip: Proper creaming creates airy, tender cookies.
- Step 3: Add Egg Yolk & Vanilla
- Mix until fully incorporated.
- Tip: Scrape bowl sides to ensure even blending.
- Step 4: Mix Dry Ingredients
- Whisk flour and salt separately, then gradually add to wet mixture.
- Tip: Avoid overmixing — stop as soon as dough comes together.
- Step 5: Rest Dough
- Let the dough rest for 10 minutes.
- Tip: Resting reduces cracks and improves texture.
- Step 6: Shape Dough Balls
- Scoop 1-inch balls and roll gently.
- Tip: Slightly damp hands prevent sticking.
- Step 7: Make Indentations
- Use your thumb or the back of a teaspoon to press a cavity into each ball.
- Tip: Press gently — deep but not breaking the dough.
- Step 8: Add Jam Filling
- Fill each cavity ¾ full.
- Tip: Overfilling causes leakage; underfilling leaves dull centers.
- Step 9: Bake for 12–14 Minutes
- Until edges are lightly golden.
- Tip: For softer cookies, remove at 12 minutes; for crispier, bake 14–15 minutes.
- Step 10: Cool & Set
- Cool on the tray 5 minutes, then move to a rack.
- Tip: Cookies are fragile when hot; avoid touching early.
Notes
- Make-ahead dough stores 48 hours in fridge.
- Use gluten-free flour for GF version.
- Thicken jam if runny.
- Add citrus zest for extra holiday sparkle.